Design Your Own Art Project
|
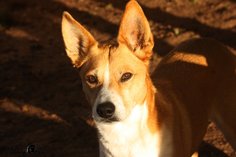
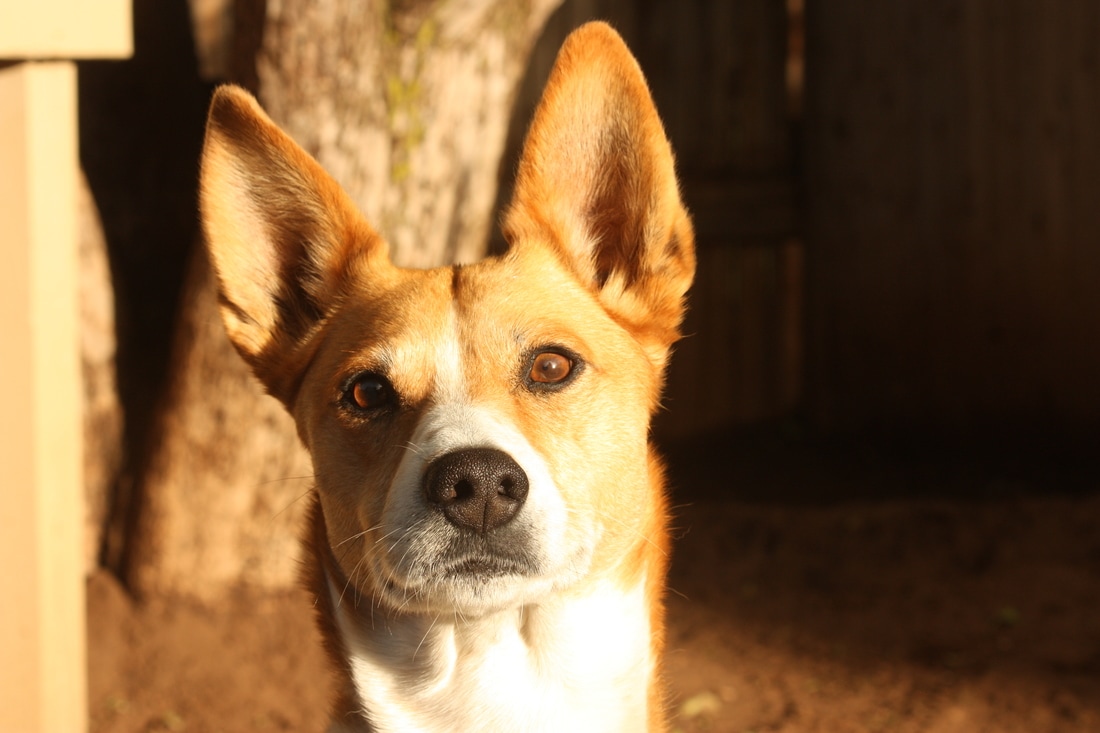
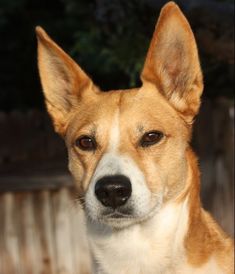
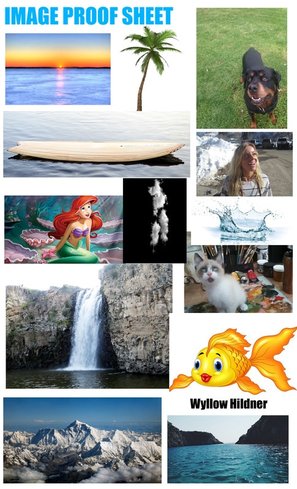
In this project, Roxy gave us the choice to focus our time on something we are passionate about in the digital art field. I decided to focus on my photography. Below is my pre-assessment, which is supposed to show my photography skills before the project started. My final project should show my growth. As I was preparing my pre-assessment, I noticed that I should have a watermark for my photos. I did not want to pursue something boring (for example, © 2017 Wyllow Hildner), I wanted something unique and original. So in this project, I also created my own personal watermark.
|
Project Student Objectives:
|
What I learned:
I learned all about shooting in manual mode! I've never actually done that before. I learned that you have to correctly balance aperture, white balance, shutter speed, and ISO to all achieve a beautiful photograph, as well as composition. In the future, I am going to continue to refining my photography skills by focusing on ISO. I have yet to figure out which ISO is correct for different types of environments.
I feel that I am more prepared when it comes to the art of photography. Before this project, I relied on the internet. But in a world on visual learners, it is difficult to absorb information from endless paragraphs. This project sparked a love of photography that I hope will set forth into a dedicated hobby, or hopefully, a career.
Pre-Assessment |
Final Project
|
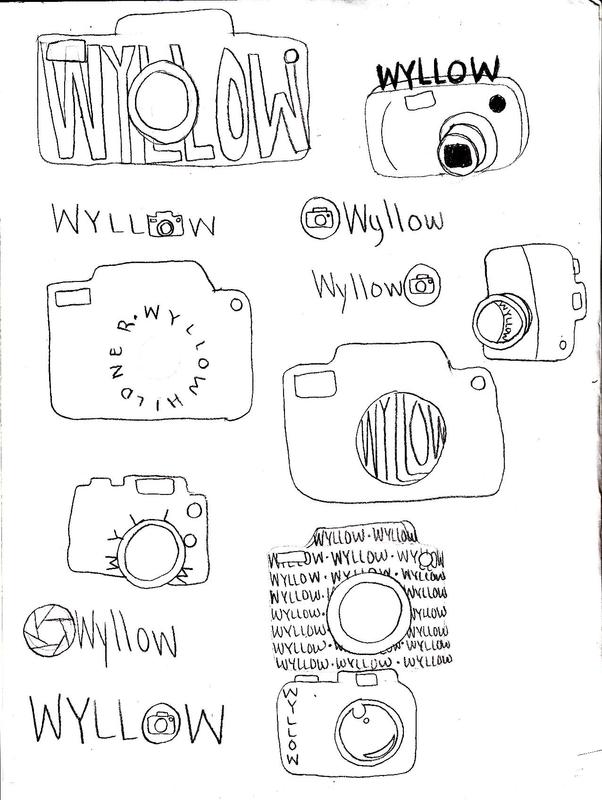
Creating a Watermark: (as a photographer)
|
1. Original Ideas:
|
2. Decided on this design, and put it together in Photoshop:

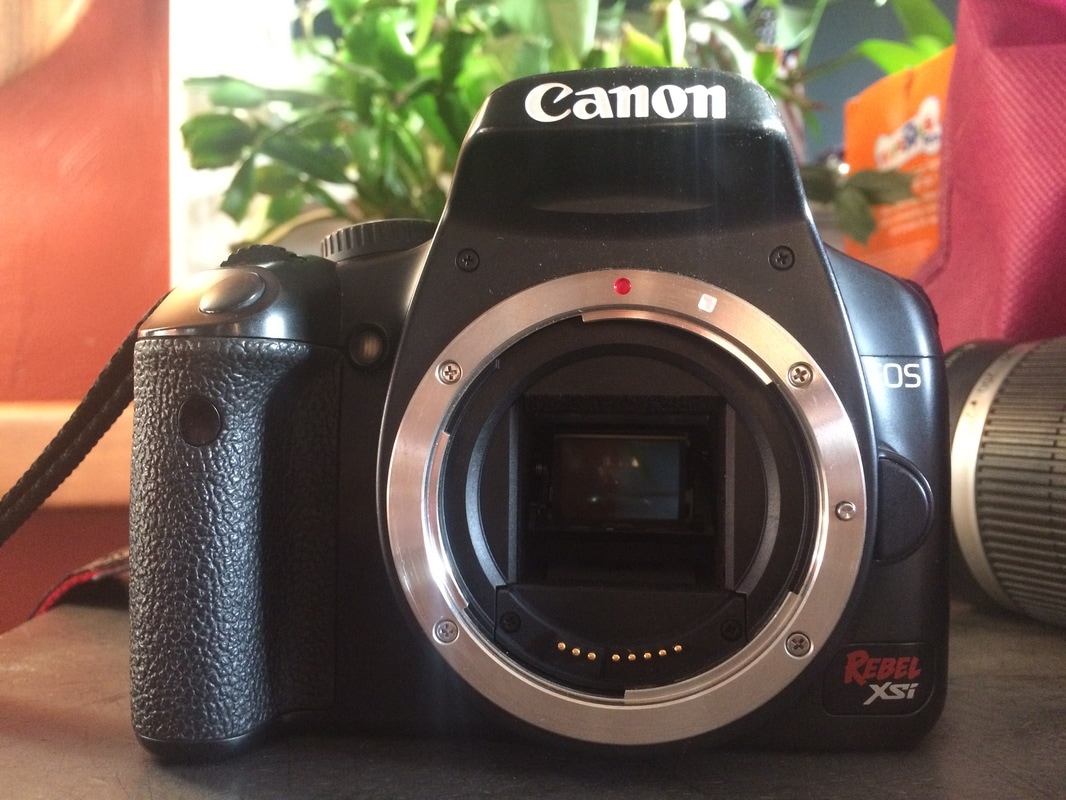
Roxy recommended that I use a picture of my own camera for the "O" part, instead of clip art from the internet.
|
|
3. Picture of my Camera:
|
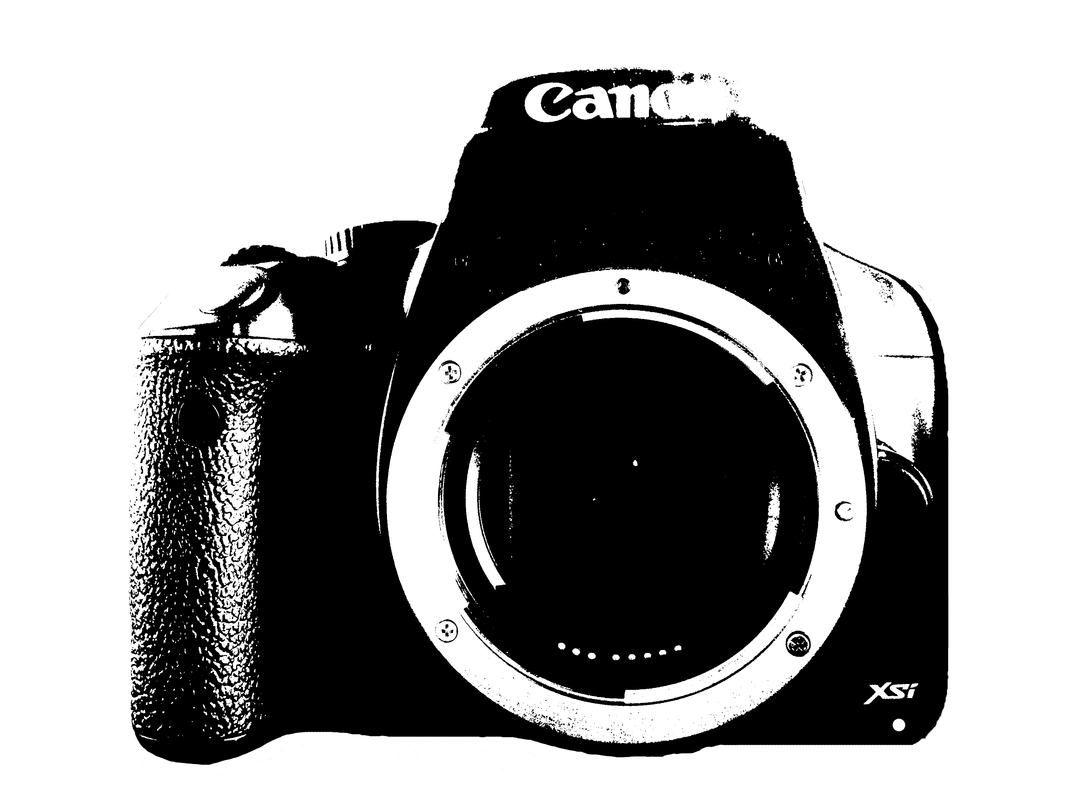
4. Changed the threshold in Photoshop:
|
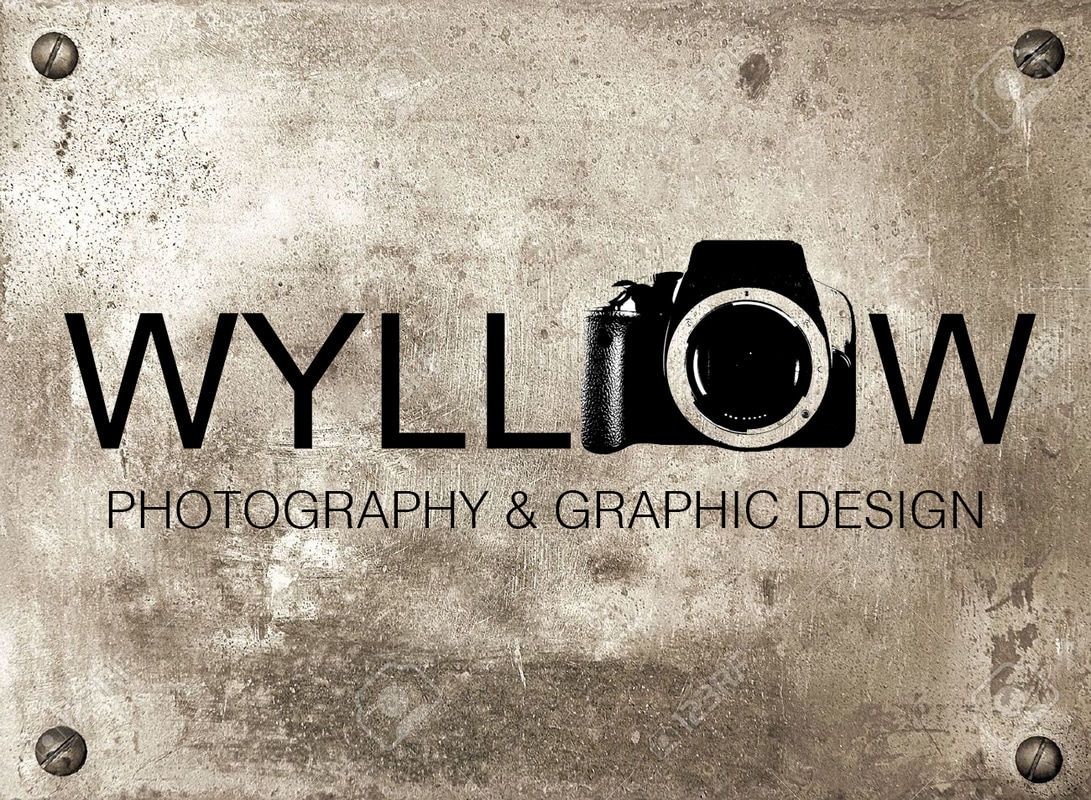
5. Put it together:

|
|
6. Erased the "Canon" part of the camera:

|
7. Final Product:
|
Teacher Creature
In this project, I had to create a Photoshop art piece of a teacher turned into a creature!
PROGRESS: Day to Day |
|
Photoshop Tutorials
|
To remove the braces, I start out with using the pen tool to cut out the large portion of the braces. I then used the clone/stamp tool to cover the wires of the braces. Done!
To add cracks to the man's face, bring up both images in Photoshop. Make sure you have the cracks photo on the screen and press Ctrl + A and then Ctrl + C. Then go to the face image and press Ctrl + P. I made sure I was on the "cracked" layer. I pressed the 'Normal' button a little bit above the 'layers' area. It will give a list of things. I pressed multiply, and messed around with the opacity. I then erased the cracked photo where the man's eyes, hair, background, and mouth were. Done!
To change the hair color, I used the pen tool to outline the dog. I then right clicked and pressed 'Make Selection'. I then pressed (on keyboard) Ctrl + U. I then changed the Hue. Done!
To change the color of the husky's eyes, I selected the pen tool and outlined the first eye. I then right clicked and pressed 'Make Selection'. I then (on keyboard) pressed Ctrl + U to change the hue. I repeated this with the next eye, too. Done!
|
To change the color of the car, I outlined the car using the pen tool. I then right clicked and pressed "Make Selection". I then pressed (on my keyboard) Ctrl + U to change the Hue. Done!
First, I outlined my first tooth using the pen tool. I then right clicked and pressed 'Make Selection'. Make sure your feather radius is on 0 pixels. Then I pressed 'Select', 'Modify', and then 'Feather'. And then put your feather radius as 1. Then I pressed 'Layer', 'New', and 'Layer via Copy'. Then I pressed 'Edit', 'Transform', and then 'Warp'. I then dragged the tooth down. I then did this to the second tooth. Done!
I started by using the 'Quick Selection' tool and made sure the 'H' was selected in the watermark. And then I pressed 'Delete'. I did this for all the letters in the watermark. Then, I used the clone/stamp tool to cover up the deleted areas. I tried by best to make sure the deleted area blended in, but I think I could have refined it more.
|
Digital Portfolio Headers Project
Advanced Algebra Header

|
The title was originally in the middle, and a peer recommended locating it to the corner to balance the image.
|

|
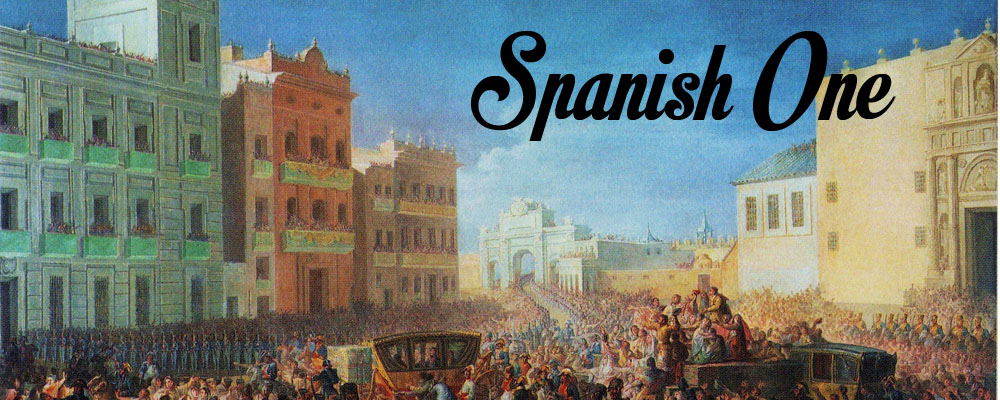
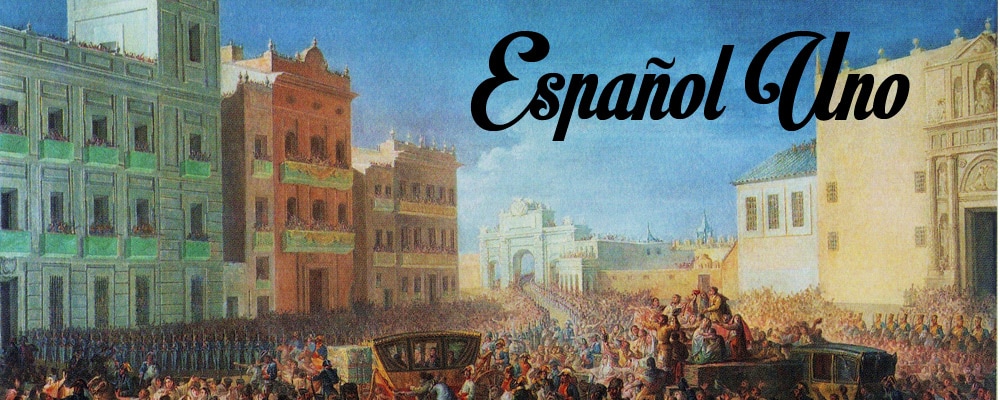
Spanish Header
|
I decided that because it's Spanish class, the title would be more relatable if it were actually in spanish!
|
|
Humanities Header

|
Ms.Roxy recommended that the title needed contrast, so I blurred the image only in the area behind the title.
|

|
